School Administrators can send emails from various points in the system. An important point is that because of the GDPR, when sending emails, you must specify the nature of the email: Sales, Marketing, Contract Related or Other. If the person to whom you want to send the email does not have this type of email marked on their consents as a Yes, then they will not be sent the email. You will find more about this lower down this page under “Types of Emails“
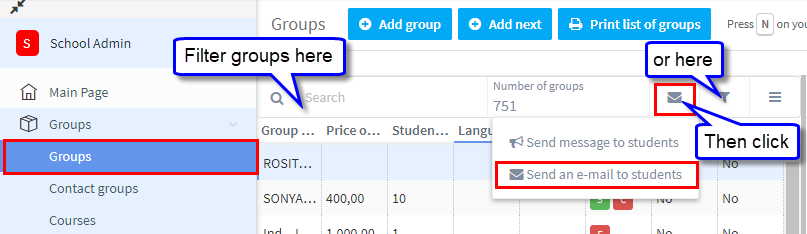
Groups:
Here an email can be sent to all students in selected groups:
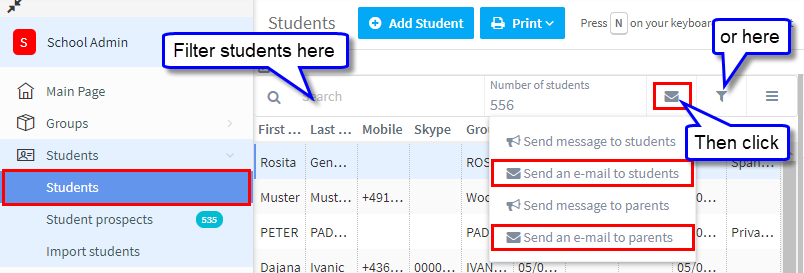
Students:
Here an email can be sent to all selected students and parents:
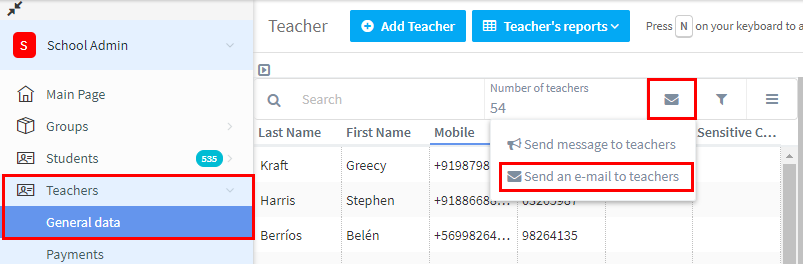
Teachers:
And the same for teachers:
Emailing to all (or selected) users in the school:
If you want to email all teachers, students and parents and other users, you can also do it here:
School Admin – Communication – Email – Create Mailing.

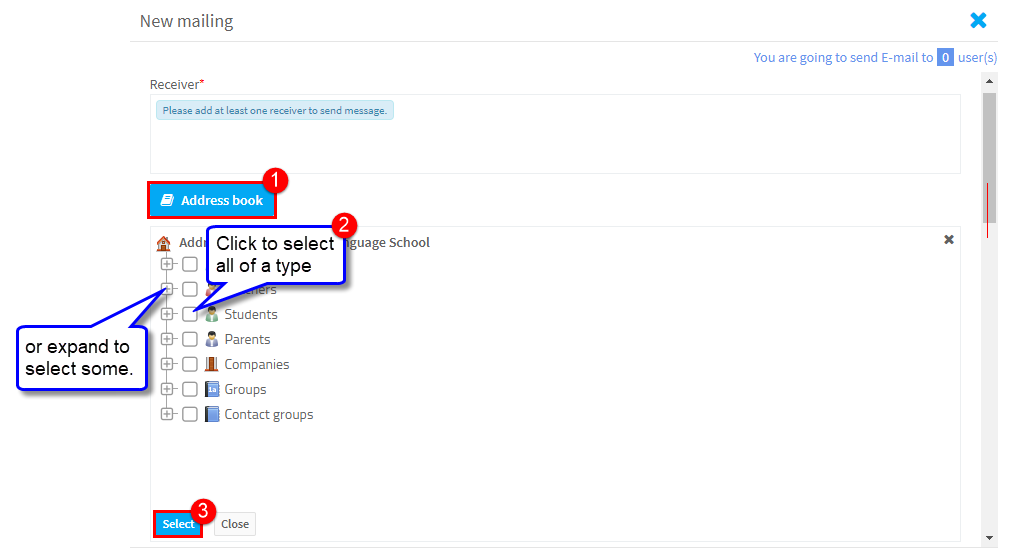
Now, you need to select who you want to send an email to:
- Open the Address book.
- Select the people you want to email.
- Click Select.
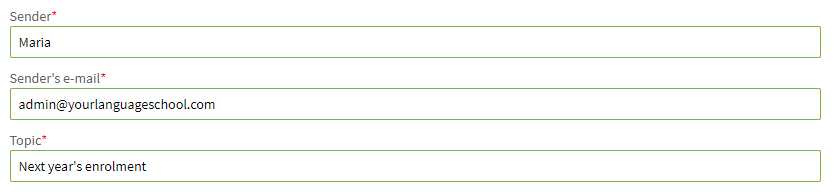
Email details:
There is a default email address held in SchoolMate for your school, but you fill in your details so people see the email is from you and reply to your email address.
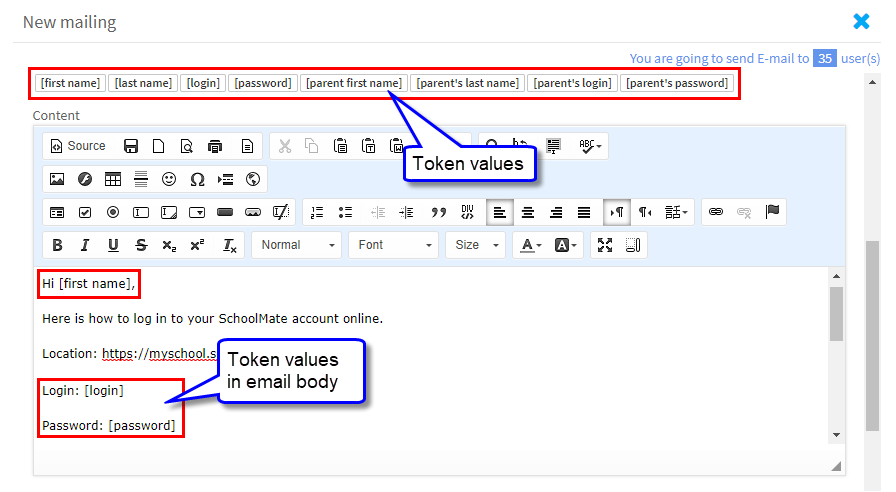
Token values:
These allow you to personalise each email. Each recipient will get an email addressed to them and with their own log in details if included in the email.
Here is an example:
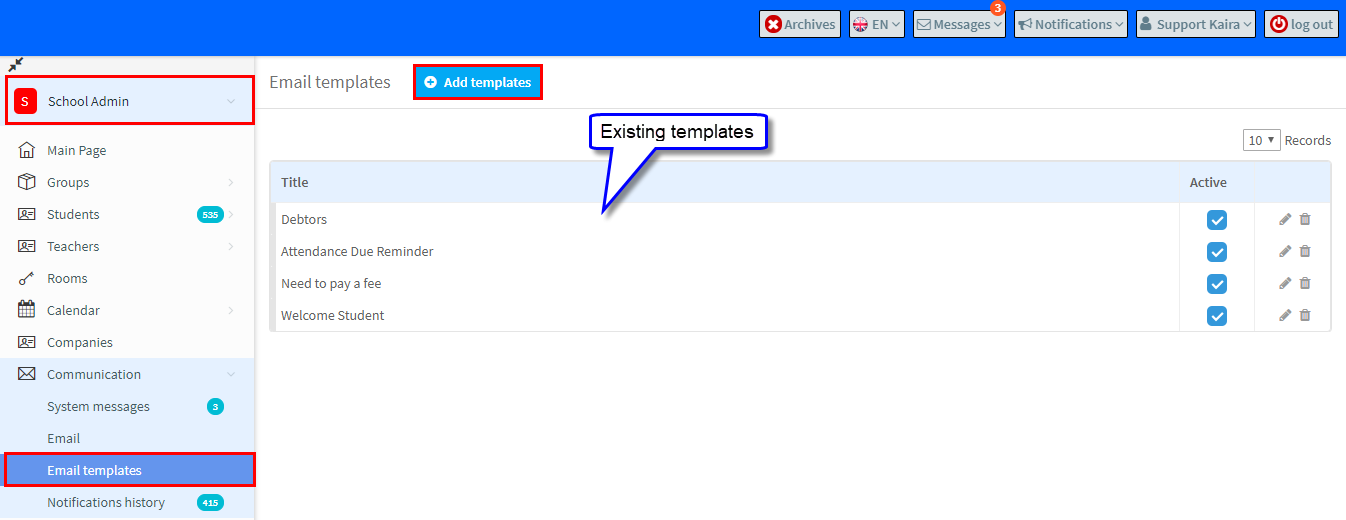
Email Templates:
If there is an email message which you use frequently, you can can create it and store it under templates . Go to School Admin – Communications – Email Templates – Add templates .
In the screen that appears:
- Name the template.
- Click on the token values you want in the template.
- Add the template text.
- Click Save at the bottom of the screen.

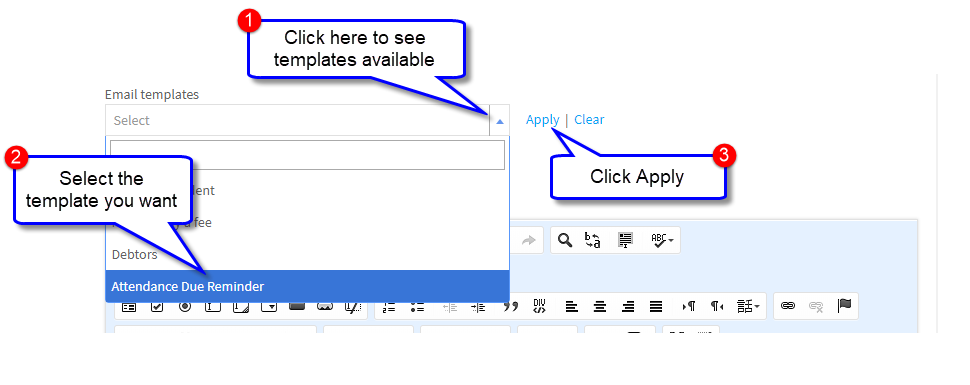
To use a template select it from the drop-down:
The template will then fill the Content Section: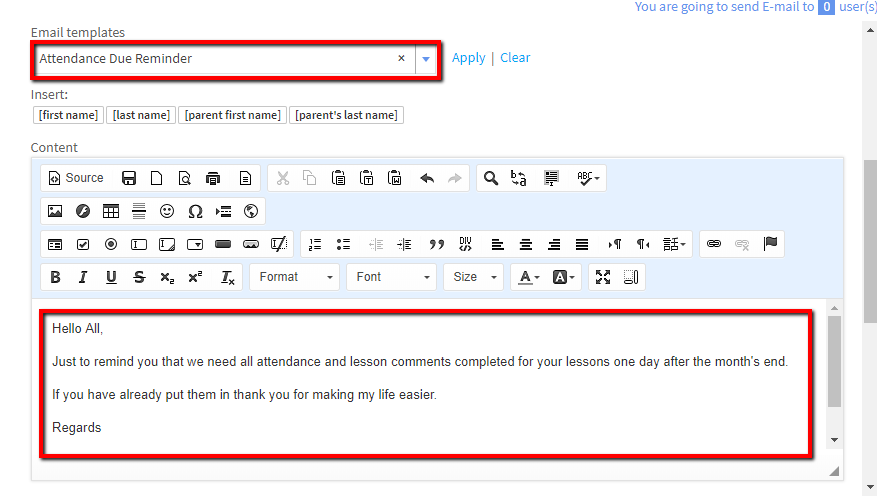
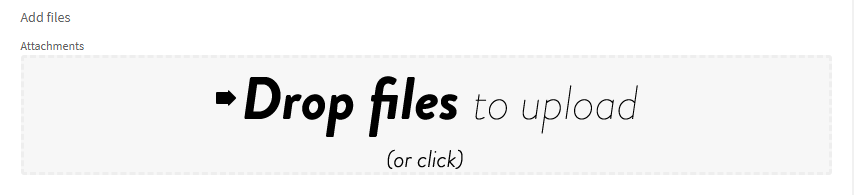
Files:
These can be attached to emails
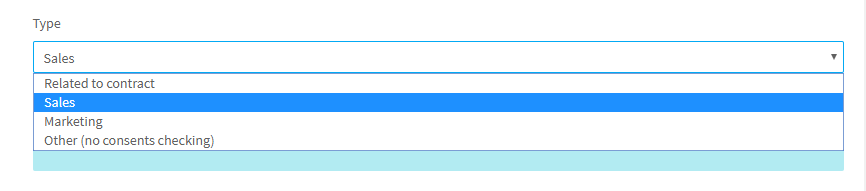
Types of Emails:
Individuals can choose not to receive certain types of emails in the consent settings on their student card. When you are about to send an email to a group of people, select the type of email it is and anyone who has asked not to receive emails of that type will be excluded from the email recipients.
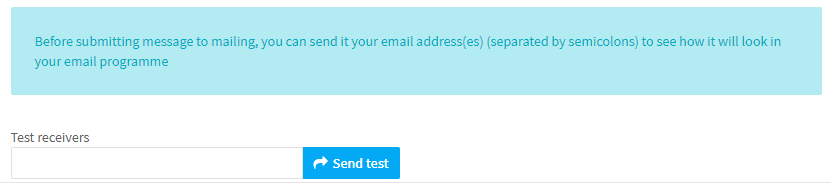
Email Test:
If you want to check an email before you send it, insert your email here and you will receive a copy.