
Study Drive
The Study Drive allows you to upload your educational files and create tests for sharing with groups and students. Your School Administrators can also share their files and tests with you as a teacher. Various file types such as: graphics, text, as well as audio and video can be uploaded.
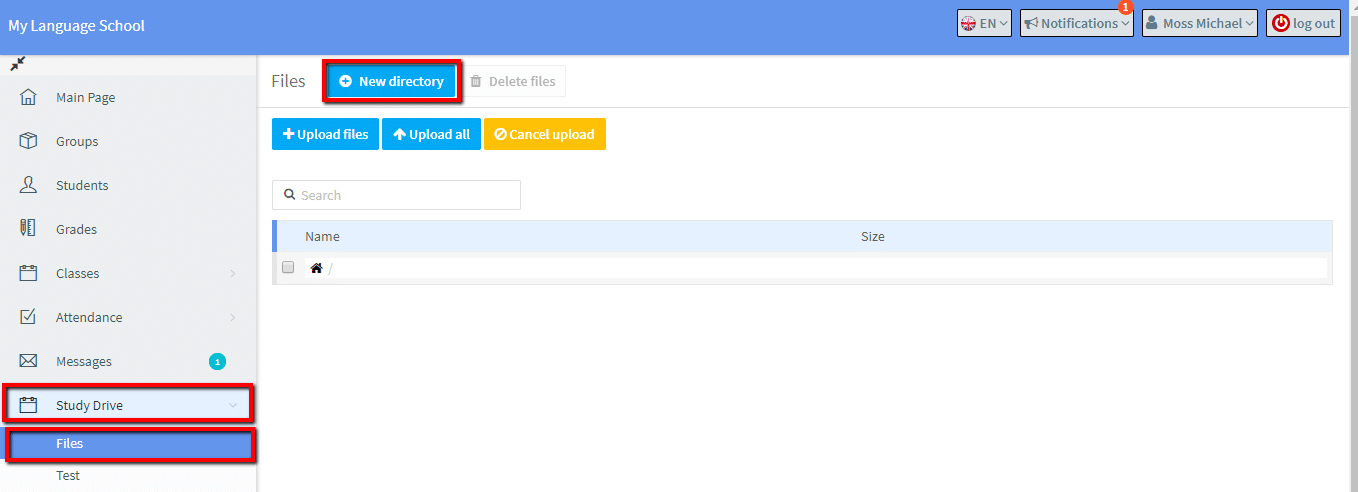
Study Drive – Files:
Directories:
Files can be uploaded directly into Study Drive, or you can create directories to store similar types of items.
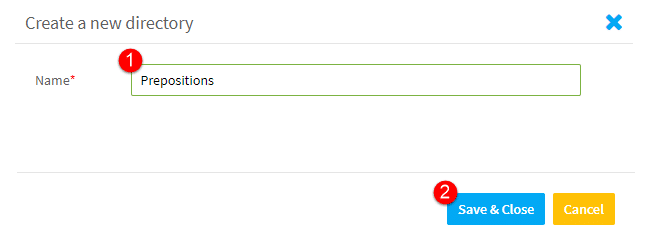
To create a new directory, click on “New Directory”, and give the directory a name:
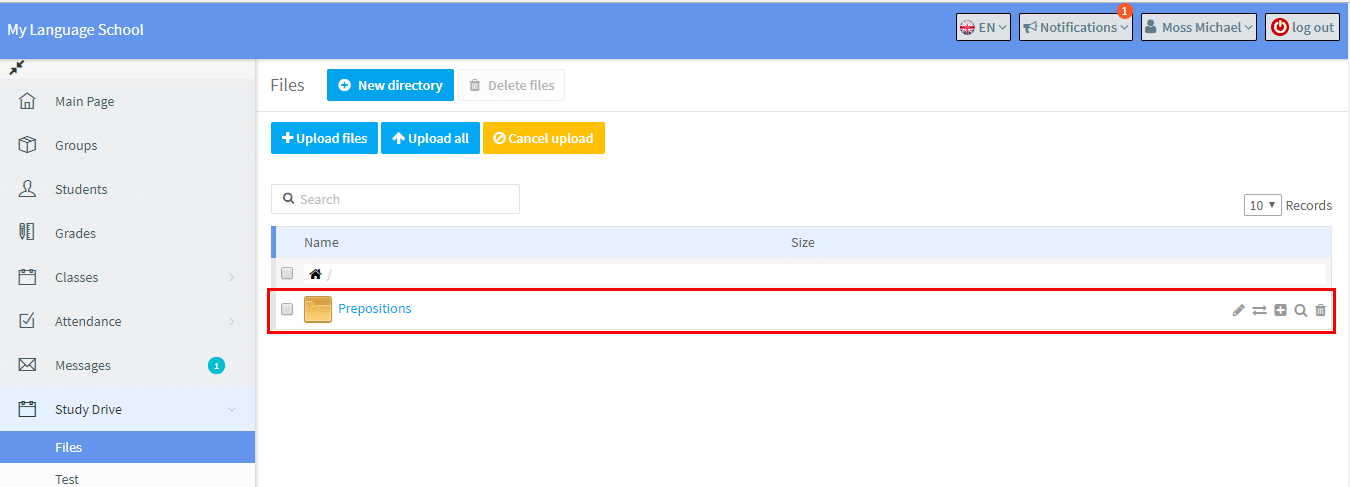
That Directory will then appear under the file type you added it to:
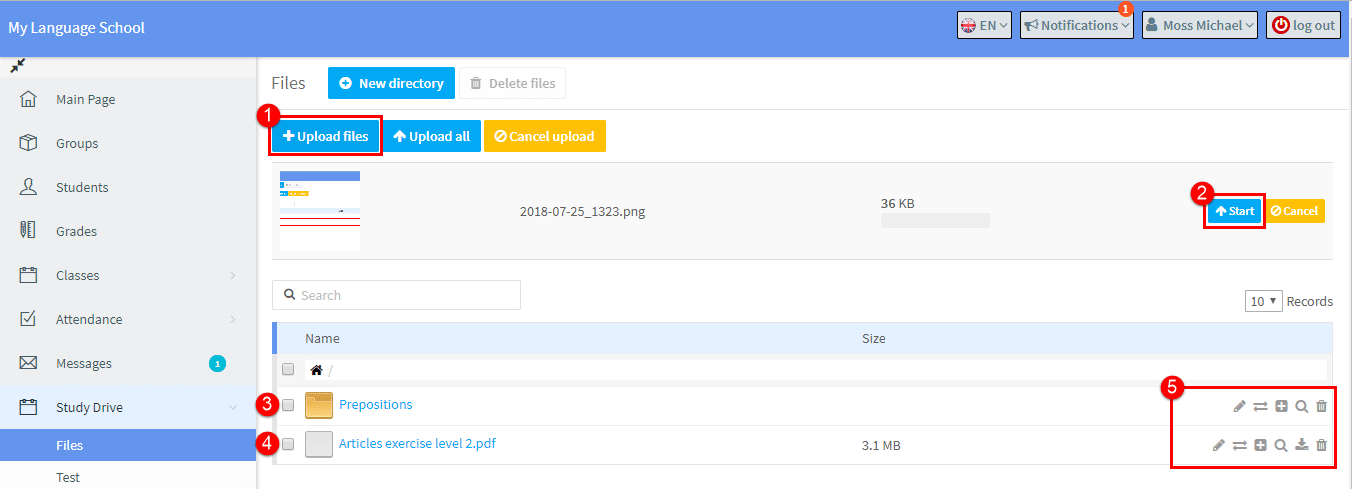
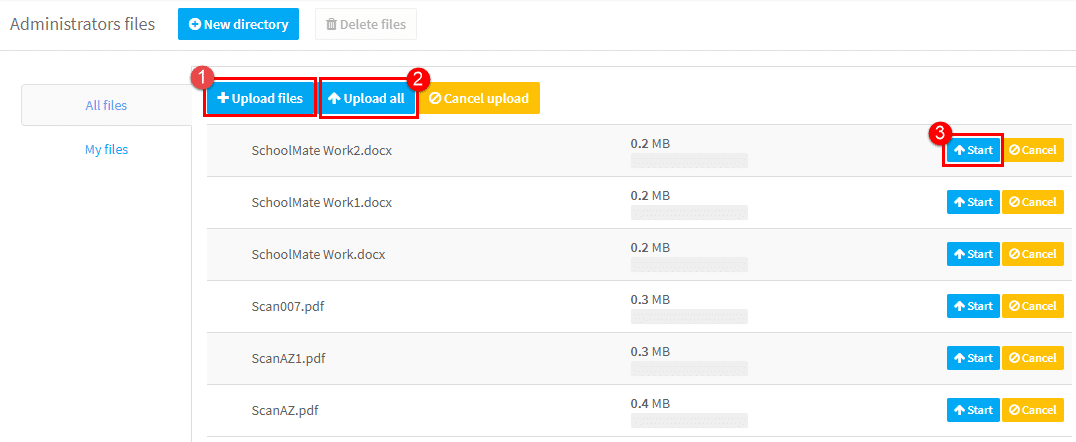
Uploading Individual Files:
- Click “Upload Files”.
- Click the “Start” button to begin the upload.
- If you have selected a directory, the file will be placed in that.
- If you have not selected a directory, the file will be placed here.
- Working with files, we will look at these options below.
Uploading Multiple Files:
- Select the files and directory as above.
- Click “Upload all”.
- You still have the option to upload one by one.
Working with files:
Once a file has been uploaded there are a number of things you can do with it.
![]() Edit. Click this icon to change the file name.
Edit. Click this icon to change the file name.
![]() Move. You can move files into, out of and between directories with this icon.
Move. You can move files into, out of and between directories with this icon.
![]() Share with students. If click this icon, you can share the file with a Group. The file is placed in the Study Drive of all students who are members of the Group. Students enrolled in the Group will be able to see and download the file when they log in.
Share with students. If click this icon, you can share the file with a Group. The file is placed in the Study Drive of all students who are members of the Group. Students enrolled in the Group will be able to see and download the file when they log in.
![]() Details. This gives you information on the file and which groups you have shared it with.
Details. This gives you information on the file and which groups you have shared it with.
![]() Download. Click to download the file.
Download. Click to download the file.
![]() Remove. This will delete the file or directory from your account.
Remove. This will delete the file or directory from your account.
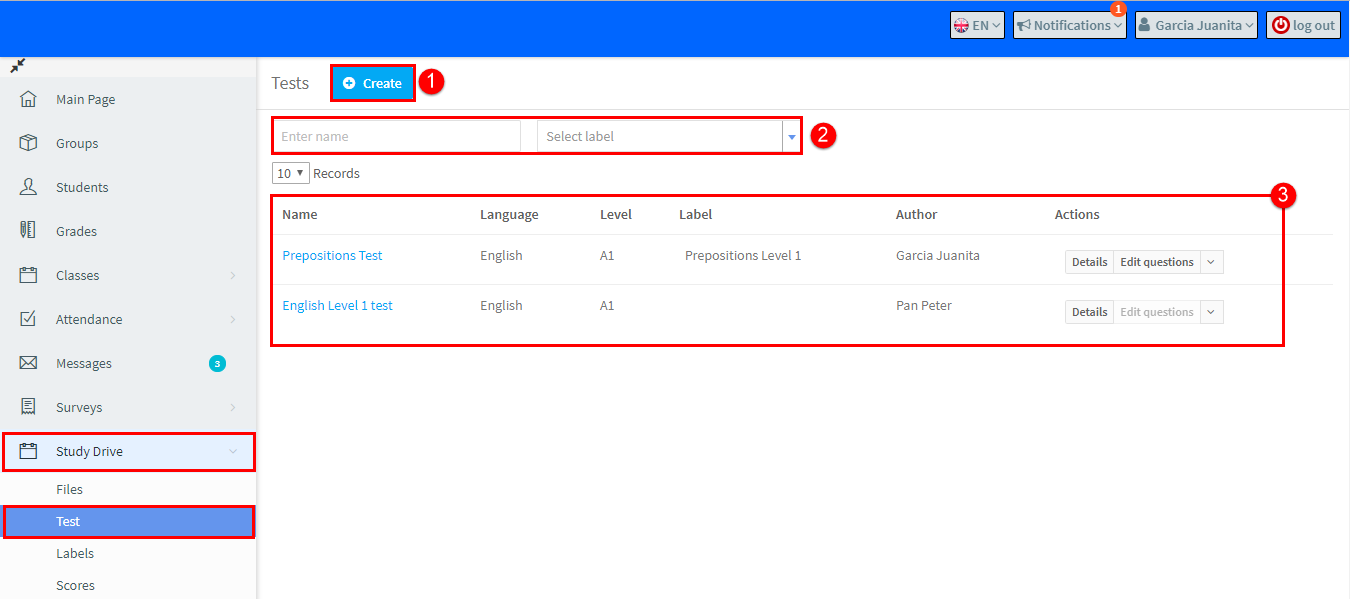
Study Drive – Test:
This page holds tests which you as a teacher have created or have been created and shared with you by other teachers or School Admin.
- To create a test click here. There is a complete tutorial on how to create a test and the different types of question formats here.
- You can filter the tests which have been shared with you, or created by you, here.
- These are the tests in your Study Drive.
Actions:
There are various things you can see and do with tests in your Study Drive.
-
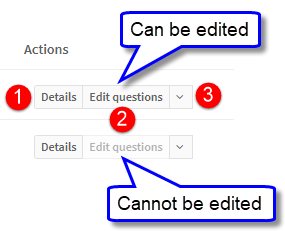
- Details – gives you information about level, language etc.,
- Edit Questions – if you created the test, you can edit it. If you didn’t, you cannot.
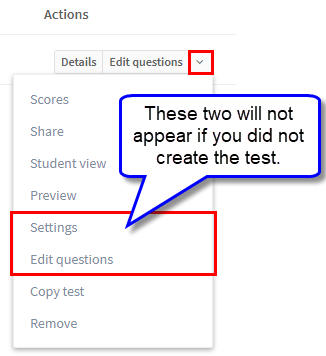
- Drop-down button – these are what you can do with the test.
Drop-down menu:
This is what these items do:
- Scores – all results for this test.
- Share – select from your groups which ones you want to do this test.
- Student view – when you have created the test, you can see what it looks like to your students.
- Preview – gives an overview of the test.
- Settings – information about the test: level, name etc.,
- Edit questions.
- Copy test – you can edit and rename if you want to.
- Remove – if you delete the test, it will be removed from all the groups you have shared it with.
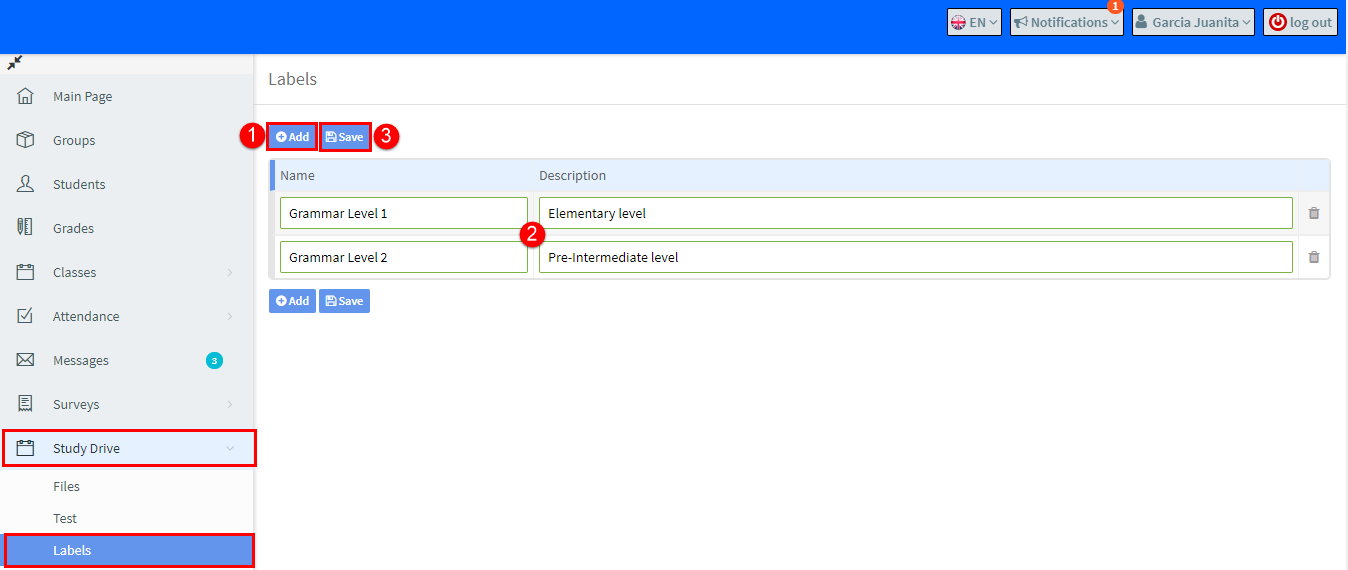
Study Drive – Labels:
This is where you add the names and descriptions of your tests. You will be able to select from these names when creating a test.
Study Drive – Scores:
This shows all the results of your students who have taken the test you shared with your groups.
Study Drive – Results Registration:
If your school is using the Registration Module to have potential students take a placement test, they may assign a teacher to overview the results. If you are assign as a teacher to mark tests, the tests will appear in this section.