
With this module you can create and store the registration forms for potential students to complete on your school’s contact page.
To create a form click “Add registration form”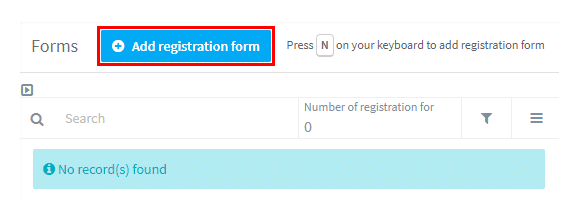
This will appear:
- Give the form a name.
- Click Save.
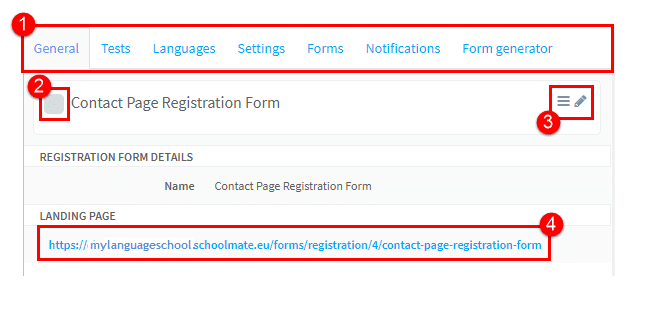
 The form will be created and you can then add details to it:
- These are the cards holding the data. They are explained below
- If you want this form to be the main one people see when they log in, click here to make it the default.
- Edit and Delete
- This is the URL of the form we are creating.
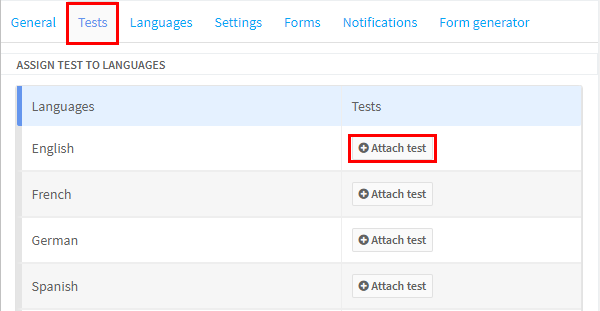
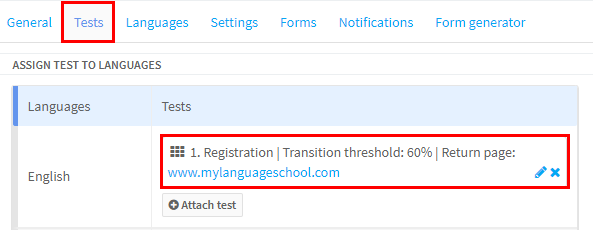
Tests:
Here you can add a placement test for the selected language in the registration form. Please note, that this option is available only when you have activated the Study Drive Module.
- Click Attach test.
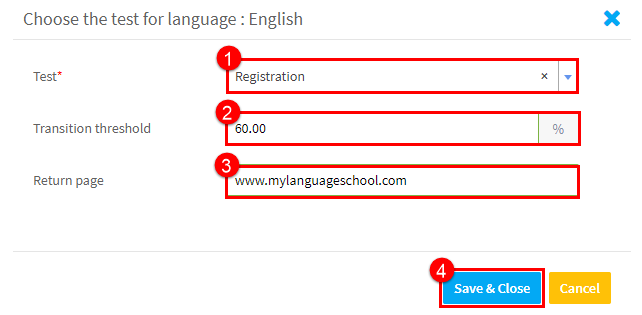
After you click “Attach test” the following will appear:
- Select a test you have created in the Study Drive Module.
- Enter the transition threshold (percentage). You can add more than one test for the student to complete, each with certain transition threshold. Each subsequent test will be displayed if the transition threshold is reached.
- Enter the web page the student will be directed to after the test has been sent.
- Click Save.
It will look like this when you have finished:
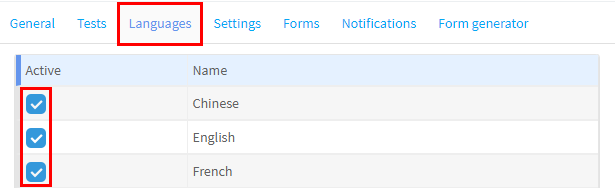
Languages:
Click the languages that you teach in your school that you want listed in the registration form:
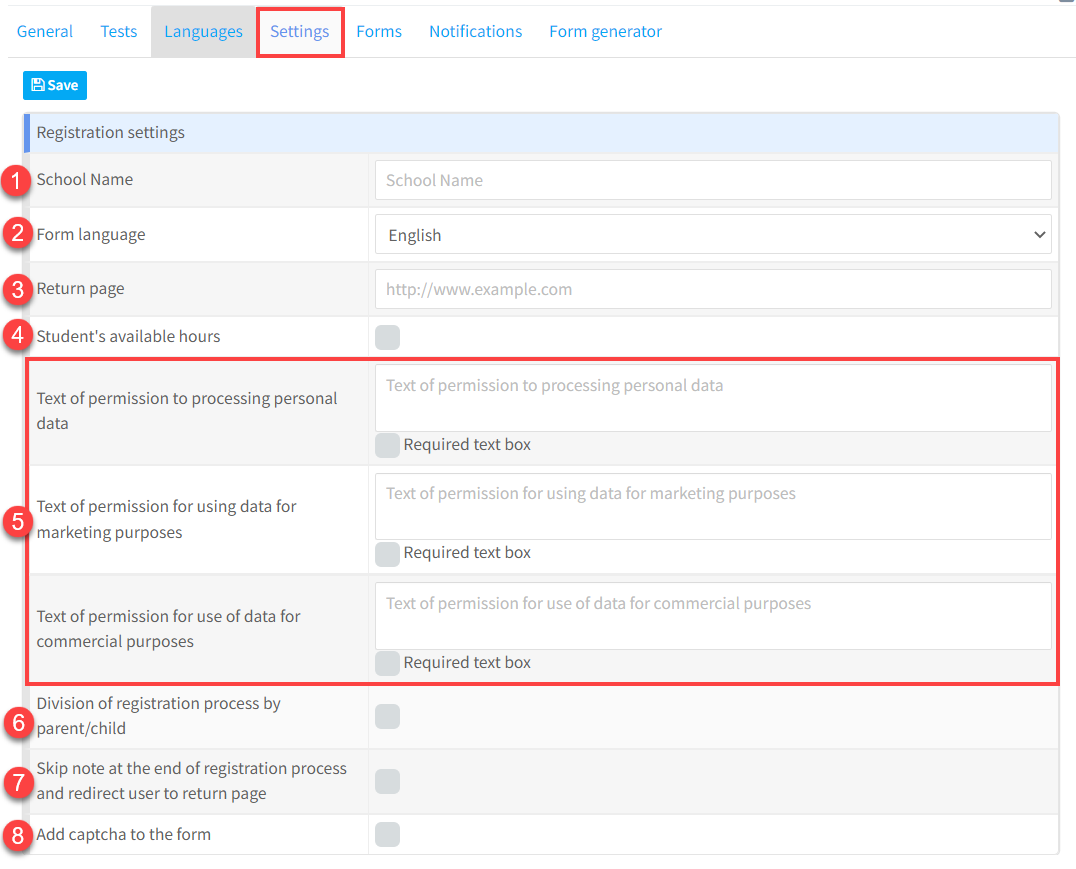
Settings:
Each form you create can have a different configuration and settings:
- Put your school’s name.
- Select the language you want people to see the form in.
- If you want the students to be redirected to your website after completing the form, put the address here.
- If you want the students to be able to put their preferred hours and days for lessons, tick this box. The responses appear on the student’s card here.
- Enter the content of individual consents. They will be displayed on the registration form. You can mark consents as required so the student will not be able to complete the registration without confirming it. This is especially important for European based schools under the new GDPR.
- If you have parent accounts enabled in System Configuration, you can choose the option to divide the registration form into two. By doing this, you enable the registration of adult students and enable parents to register their children.
- If you don’t want to display the default message after registration, you can display the return page instead (see 3 above). To do this, tick this option.
- If you want to add a task to check the application is not from a spambot, tick this option.
Forms:
The items which appear here – this is just a small section – are basically the items that appear on the student card:
- If you want this item to appear on the registration form, tick the box.
- If the student has to provide this item or the form will not be accepted, tick this box.
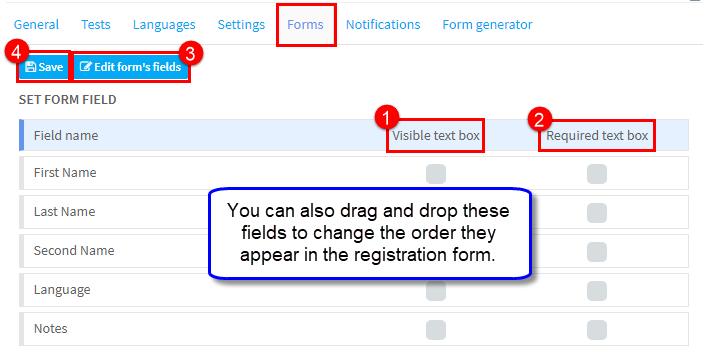
3. As mentioned above, the items that appear here are what is on the student card. If you want other items to be on the registration form you can add them by clicking on “Edit form fields”. This will take you to Forms where you can add custom fields to the student card. There is more about that here.
4. Click Save.
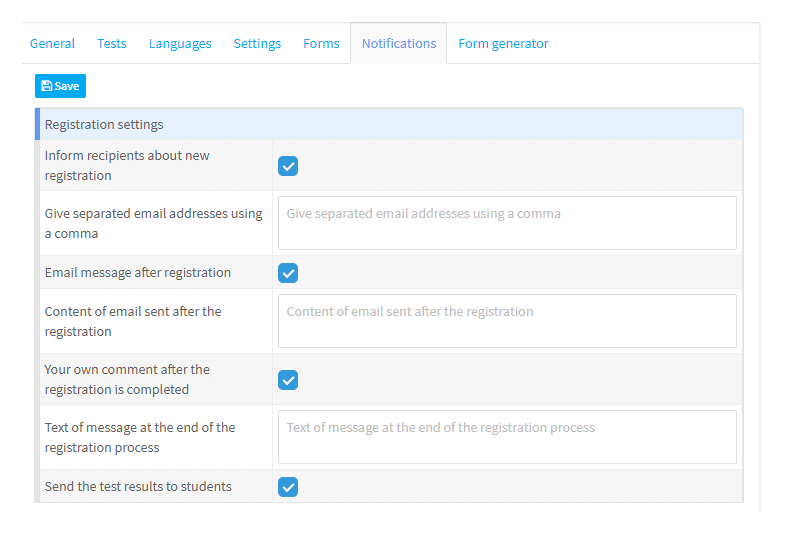
Notifications:
In Notifications you are telling the system what to do after the registration form has been completed. When you tick an item a content box will appear:
- If you want to receive a notification about new applications, tick this box.
- Enter the email address(es) of who should be sent an email notification
- If you want to email the new student that the registration has been received, tick the box .
- Put the content of the email here.
- You can also create a message which appears on the screen after the registration has been completed. Enable this option and add the content of the message.
- If you want to send the student their registration form test result, tick this box.
When you have finished click “Save”
Form Generator:
The form you have created can now be embedded into your school’s website, so students can register by computer or mobile device. If you are not too confident about doing this, contact the administrator of your school’s web site and give them the code.
- Embed Coding for website: Once you have completed the design of the form, you can take the coding in either JavaScript or HTML from here and paste it into your website.
- Buttons for web site: If you do not want the registration form on your website, you can past the coding to paste a button on your website. When someone clicks on the button it will take them to the registration form. The second option is for a button to take students etc., direct to the log in page of your school’s SchoolMate account, so they do not have to remember the log in URL address.