With this module you can easily create anonymous surveys and send them to students, parents and teachers. It gives you the opportunity to easily see, for example, how satisfied students are with your services.
To Create a Survey:
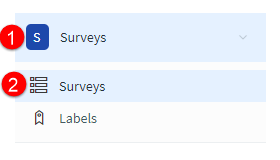
- Go to Surveys in the main menu.
- Go to Surveys in the sub menu.
Click Add survey:

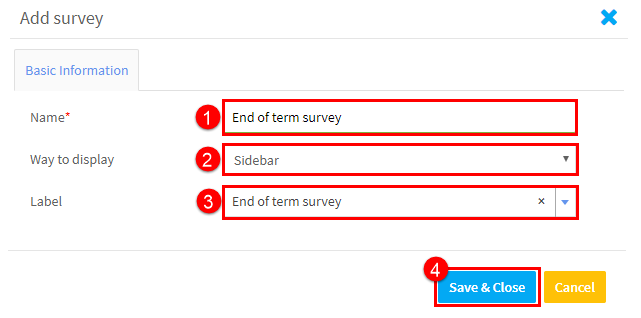
Add the information about the survey:
- Give the survey a name
- Where will the survey be displayed. There are two options:
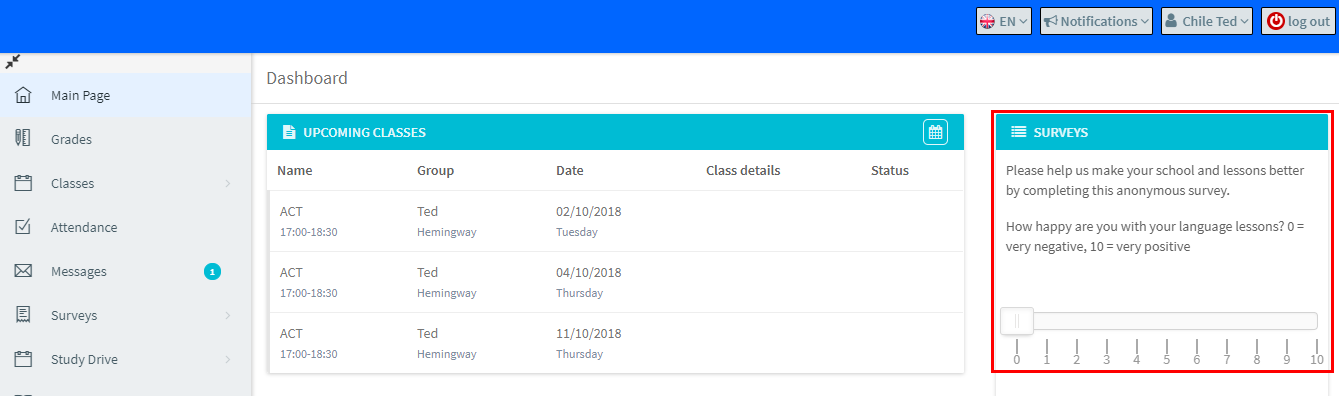
- Side bar. This means the survey will be on the users dashboard after they log in, as shown here:
- After log in. This means the survey will appear before the user gets to their dashboard.
- Side bar. This means the survey will be on the users dashboard after they log in, as shown here:
- Select a label from the drop-downs to attach to the survey. Labels for surveys are explained here.
Adding Questions to the Survey:
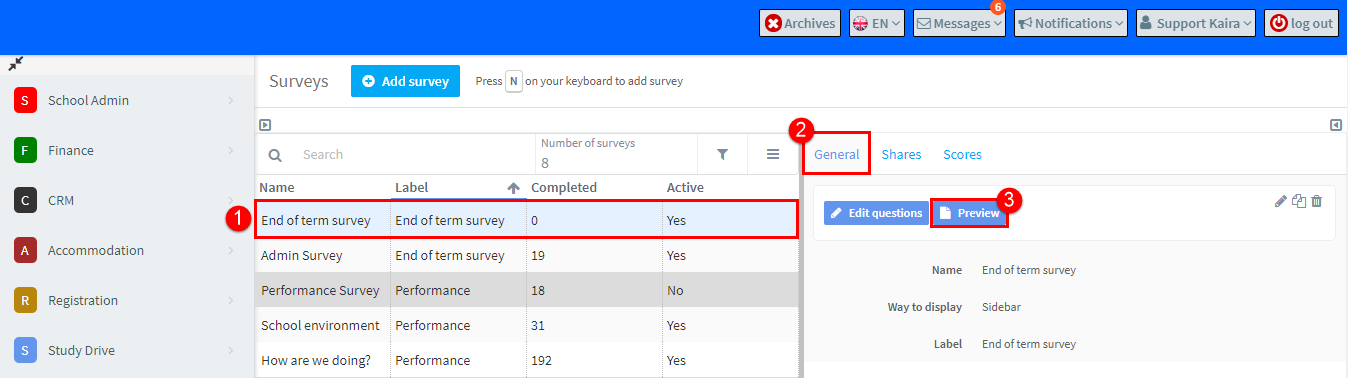
Now that we have created a survey and told the system where to place it, we need to add questions to it.
- Click on the survey you want to create questions for.
- Click on the General Card.
- Click Edit questions.

After you have clicked “Edit questions” the following will appear:

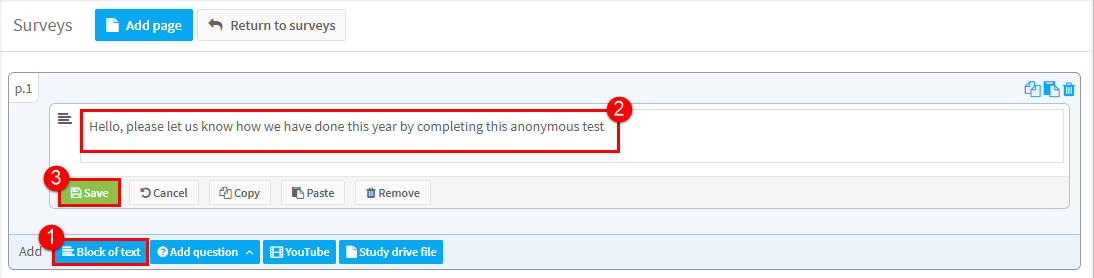
Block of text:
Here we can add text that will appear in the survey:
- Click Block of text.
- Add your text.
- Click Save.
Question Types:
There are 4 types of questions that can be created when you click on the “Add question” button, we will look at each type below:
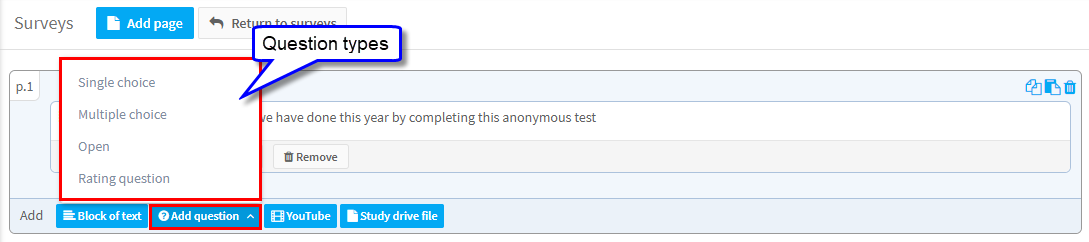
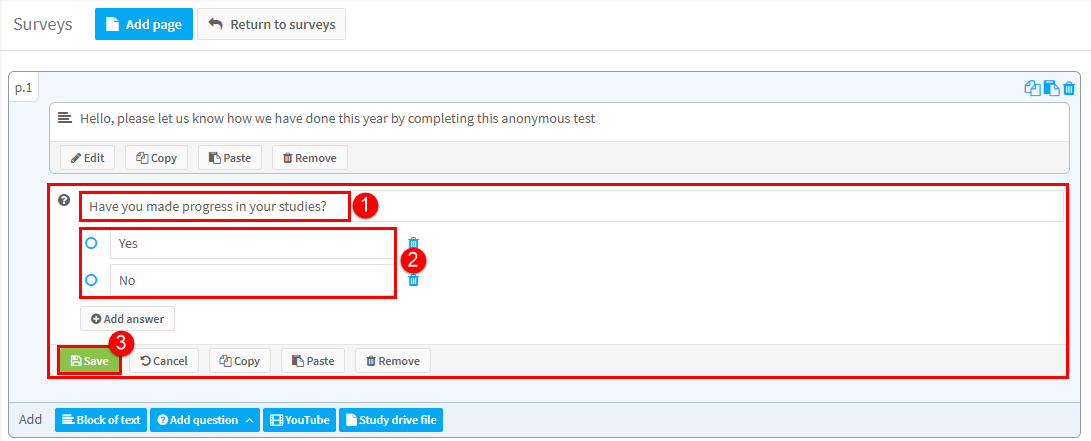
- Single Choice – only one answer is possible.
- Add the question.
- Add answers.
- Save.
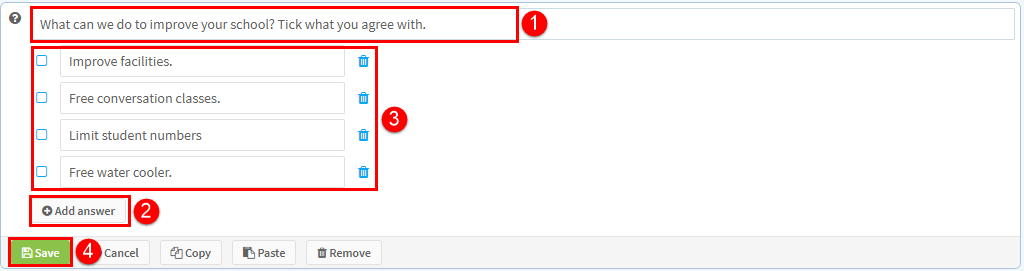
- Multiple Choice – more than one answer is possible.
- Add the question.
- Click to Add an answer.
- Add answers to choose.
- Save.
- Open – This type of question gives the student a place to enter text.
- Put question.
- Click Save.

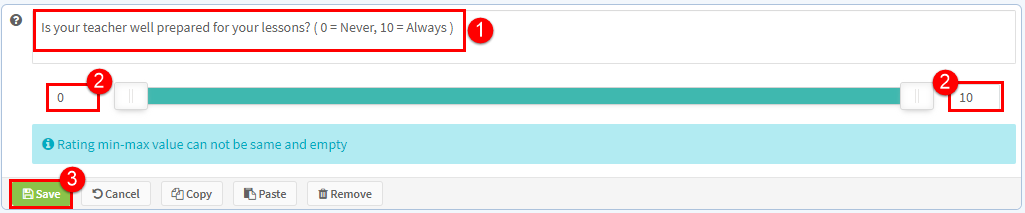
- Rating question – This gives the student the chance to answer on a scale.
- Write the question.
- Put the scale in.
- Click Save.
After Adding Questions to the Test:
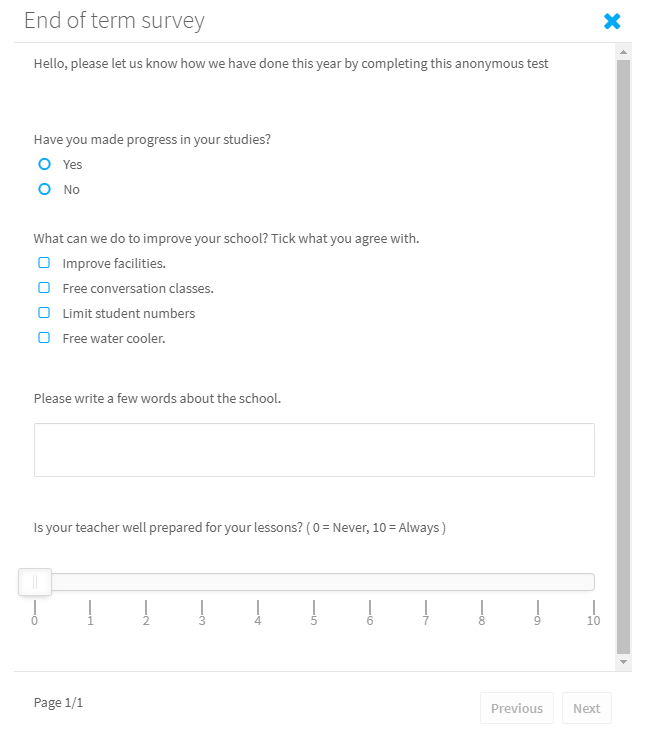
Now that we have added questions to the survey we can check what it looks like before we release it.
- Click on the survey you created questions for.
- Click on the General Card.
- Click Preview.
The survey that was created above looks like this:
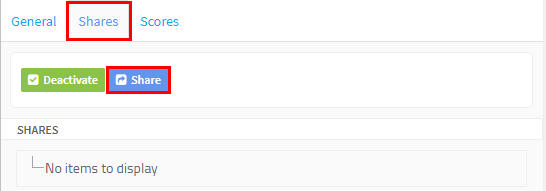
Sharing the Survey:
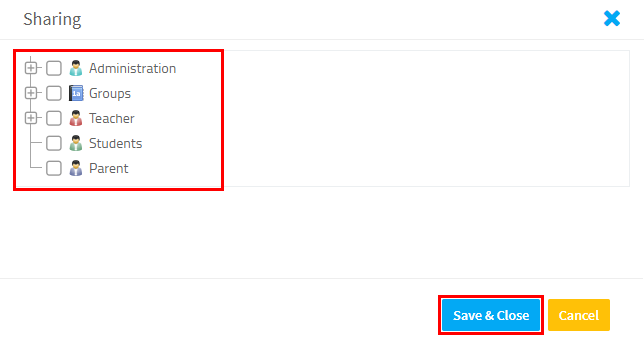
If you go to the Share card and click share:
You can choose which people in the system you want to answer the survey:
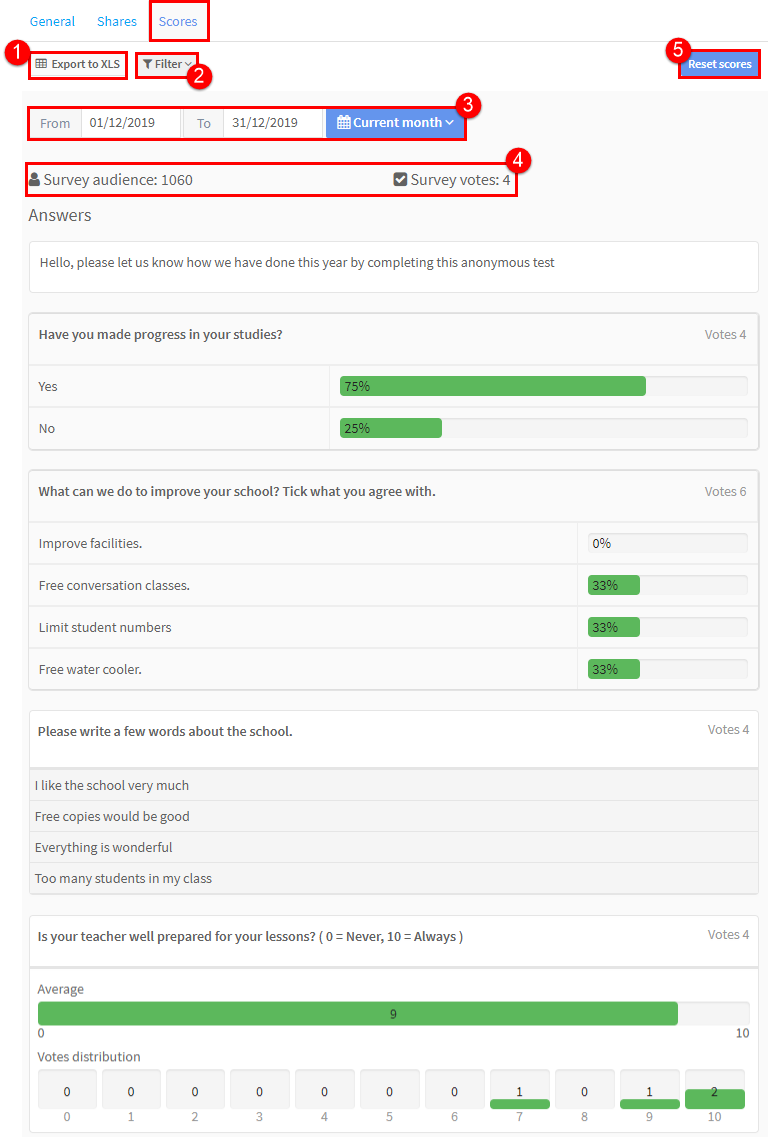
Responses to the Survey:
After you have posted the survey for people to complete when they login to their SchoolMate account you can view responses. The above example survey would look like this:
- Export results to Excel.
- Filter by respondent type: student, parent, teacher etc.,
- Filter by date of response.
- Total people sent to, total replies.
- If you want to use a survey again – maybe next term, you can delete all replies and send again.