
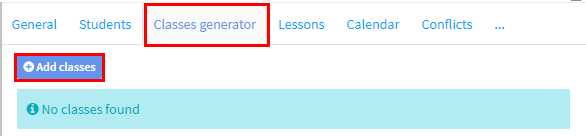
In Classes Generator we put in the teachers, classrooms, days and time of the lessons.
Click “Add lessons”:
and the following will appear:
- Copy settings from: Once you have created your first class details for this group you can copy the details – and edit – for other lessons the group may have.
- Classes: This is a way to identify similar type of lessons in your calendars. These are held in Settings – Group Settings.
- Day: Select the day of the week.
- Time: Enter the start and end time of the lesson.
- Length of lesson: Enter the length of the lesson. This is filled with the default lesson length in your settings.
- Length of break: If there is a break in the lesson, enter it here – it will extend the length of the lessons. Teachers are not paid for breaks.
- Teachers and Rooms: In this section we can select the rooms and teachers for the lessons. If you are not sure which rooms and teachers are available on the day and time input in 3 & 4, you can use “Check Availability” (see below). The teacher’s pay for the lessons can be selected from the “Change rate” drop-down (It must first have been entered in the teacher’s profile on their card. See here.) You can enter and override the rate in the other two boxes.
 Check Availability
Here we can check which teachers and rooms are available on the day and time of the planned lesson.
- Go to “Check Availability”.
- Select what you want to check for, plus any criteria for the teacher.
- Click “Check availability”.
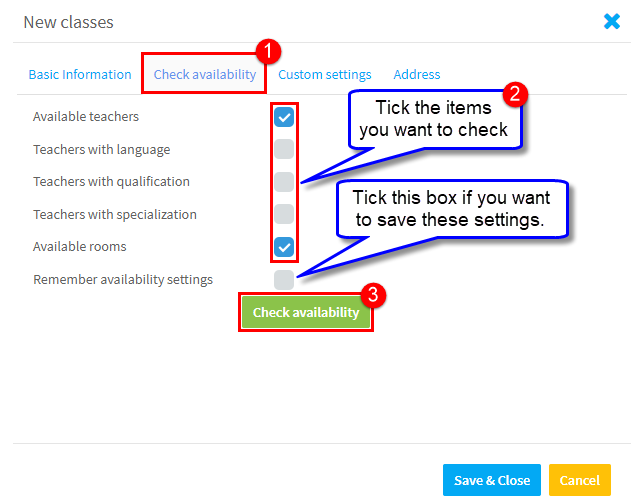
After you click Check availability, you will be taken back to the “New Classes” card and only teachers and rooms that are available on that day and time, plus any other Check availability criteria, will appear in the drop-down lists.
Custom Settings
If the classes for your group are not on a regular week by week basis, you can create the lessons with the frequency you need.
- Enter the Start and End date of the lessons.
- If there is a fixed number of lessons, enter that.
- Enter how frequently the lessons will take place. The options are:
- Week
- Two Weeks
- Three Weeks
- Four Weeks
- If it is an on-line lesson, tick here. (See below for more details).
- Click “Save & Close” when finished.
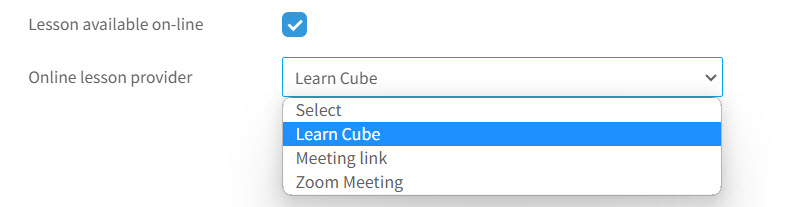
Online Lessons:
If the lesson is to be held online after you click the box, the following drop-down will appear. Select the platform that the lessons will take place on.
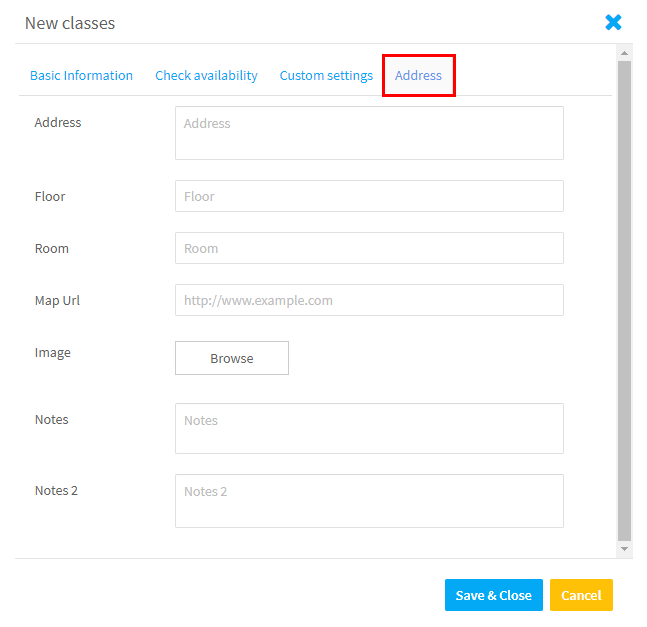
Address:
On this card you can add details of where the lessons take place: transport info, photos, Google maps etc., This is useful if the lessons are away from the school, and especially when there is a substitute teacher as they can log into their SchoolMate account and get all address and travel details.
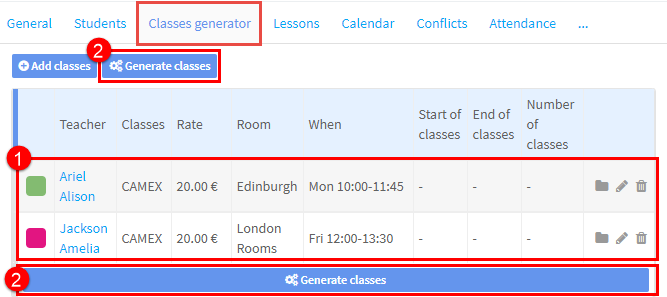
Now that the parameters about the lessons have been added, all we need to do is click here:
Generate Classes
As you add details of class days and times and click “Save” the details are added to the card. Now we can create the lessons.
- Details of classes.
- To create classes click “Generate classes”.
When you have done this, the classes will appear on the Lessons Card.