
First, we will look at the central part of the page:

- Add Group – if you want to create a new group, click here. As this is a very important part of the system there is a separate tutorial on this here.
- Add Next – the system will remember the last group you created, its settings and defaults and repeat it for you. You can of course edit what appears.
- This will calculate the amount owed by all groups that are paid on the “Hourly in Arrears” basis. There is a tutorial on this type of settlement here.
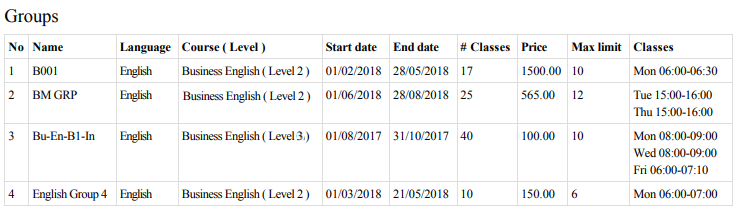
- Print List of Groups – here you can select groups and print out their details, i.e.:
 Print Attendance Levels – this will print out of the number of students who attended lessons in all groups between selected dates.
 - This is where you filter what appears, the layout and send emails and messages to students and parents connected to the displayed groups. Click here to learn more.
- Status – this can display information about student numbers in a group:
![]() the numbers of free places left in the group.
the numbers of free places left in the group.
![]() that there is No Limit to the number of students.
that there is No Limit to the number of students.
![]() the group is full.
the group is full.
One other item can be displayed here:
![]() there is a conflict in the group and that the teacher or room is double-booked. You can find out more about conflicts here.
there is a conflict in the group and that the teacher or room is double-booked. You can find out more about conflicts here.
This information about groups is on the right-hand side of the screen: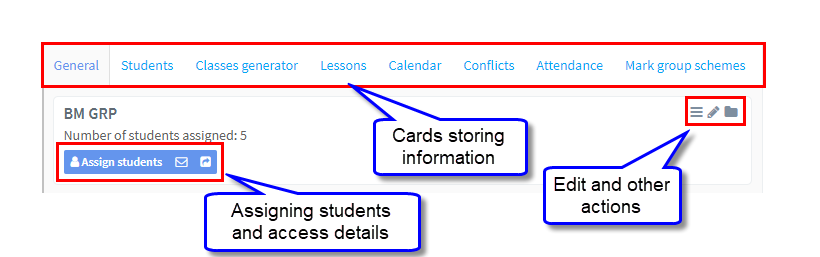
Cards Storing Information:
The top line contains cards of different sorts of information which will be covered elsewhere in these tutorials.
Assigning Students and Access Details:
![]() By clicking here you can add extra students to the group by selecting them from the student list that will appear.
By clicking here you can add extra students to the group by selecting them from the student list that will appear.
![]() Send a system message to all the students in the group.
Send a system message to all the students in the group.
![]() This will send access details to all the students in the group. You can also add a message to go with the details
This will send access details to all the students in the group. You can also add a message to go with the details
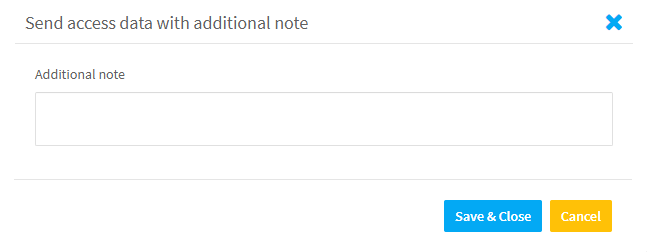
Note: Student and Parent access details are sent out together in one message.
Edit and Other Actions:
Clicking on the 3 lines will make this appear:
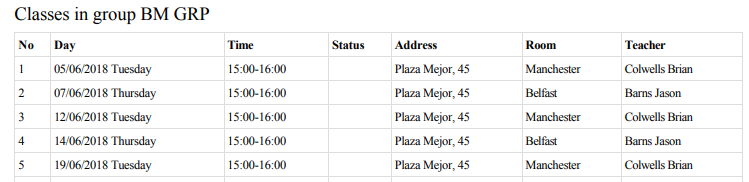
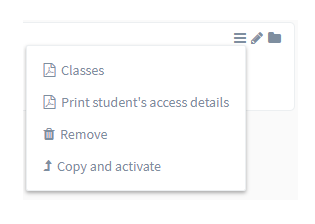 Classes:
This prints out a list of all the lessons scheduled for this group i.e.:
Print student’s access details:
All the students’ and parents’ access details are printed out.
Remove:
Delete the group from the system. You may not be able to delete a group once other items: lessons, finance etc., have been added to the group without deleting them first.
Copy and Activate:
You may have a group that you want to repeat because, for example, the students are returning for another year. When you click the icon you will be asked how you want to continue:

- Copy with generator settings – this option will bring up the Edit Group card so you can change any details: price, dates etc., before creating the new group. The new group is created with the same students, teachers and days and times for lessons – but no lessons. You will need to click Generate Classes to do that.
- Copy without generator settings – this option will bring up the Edit Group card so you can change any details: price, dates etc., before creating the new group but the group will be empty – no students, teacher or days and times for lessons.
There is more detail on how this works here.
You may want to move the original group to the archives (see below) after you have created this new group.
Edit Group:
Clicking on this icon
![]()
will open up the Group card and you can edit it.
Archive Group:
Clicking on this icon
![]()
will archive the Group. You can find out more about Archiving here.