The Accommodation students menu item shows all students in the school. The main difference from the normal student menu in School Admin is that there are only three tabs on the student’s card:
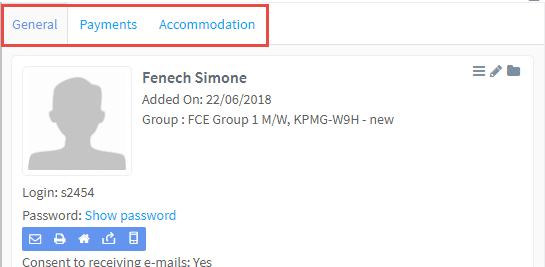
General Tab:
This shows all the information on the main student card – General tab.
Payment Tab:
This shows all the information on the main student card – Payments tab.
Accommodation Tab:
The accommodation tab is where we enter the student’s preferences for their accommodation:
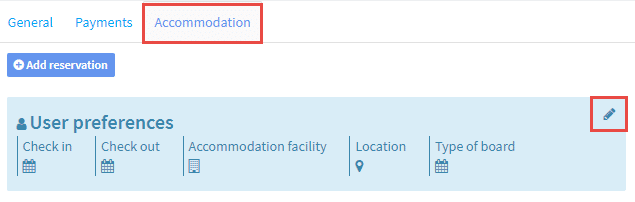
After you click on the Edit icon, fill in the student’s requirements:
- You can mark if accommodation is required or not.
- Enter the check in and out dates.
- These three drop-down options are stored in Accommodation Settings.
- These are subsets of the items in 3.
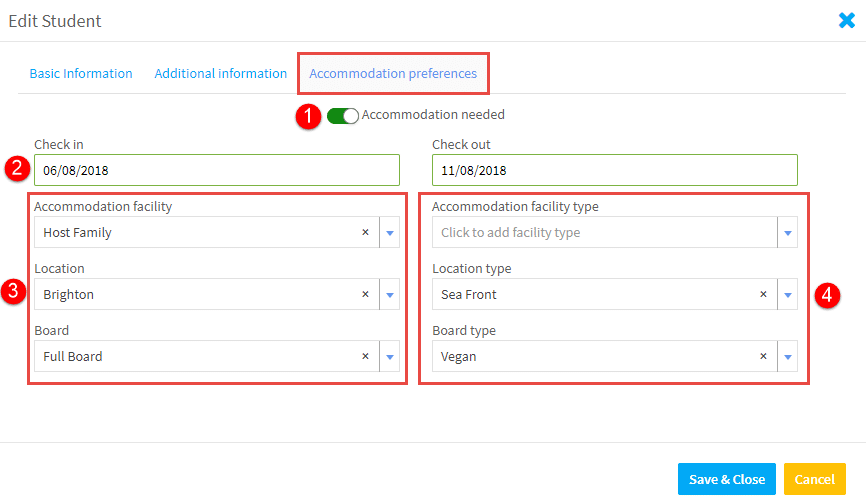
After you click Save, the items the will appear under User preferences:

Now we can go on to book the student into accommodation.
Before you can make a reservation you must have added your accommodation facilities and rooms.
Reservations
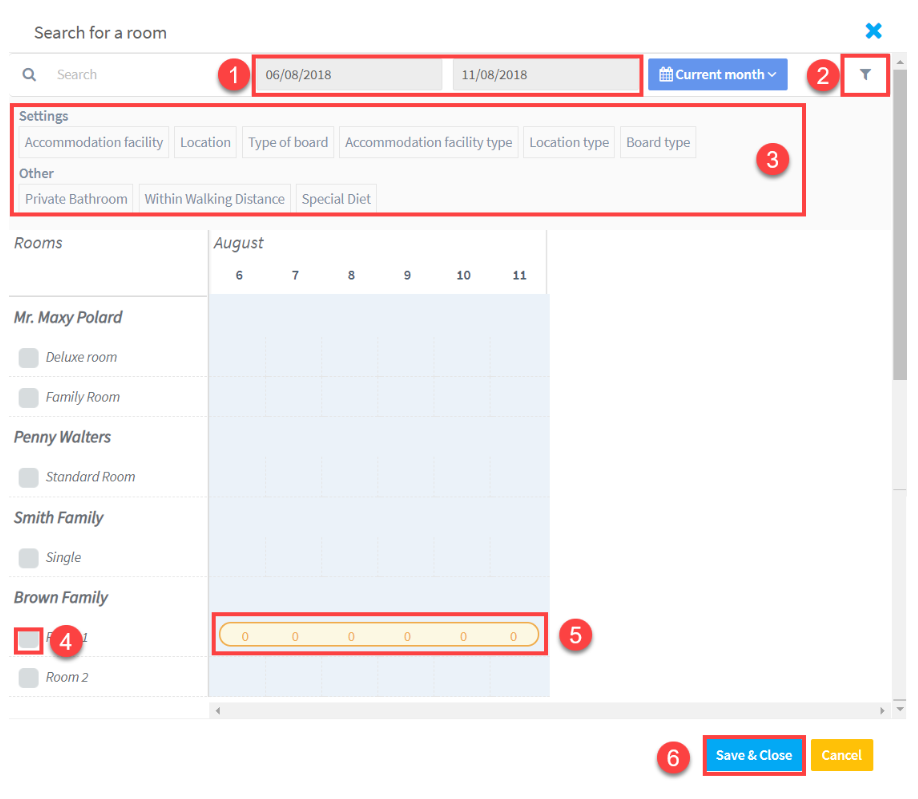
Click on the Add Reservation button in the screen shot above:
- Dates required.
- Filter icon.
- When you click on the filter icon you can search these types of criteria.
- Tick to book a room.
- Availability in a particular room.
- Click Save & Close when finished.
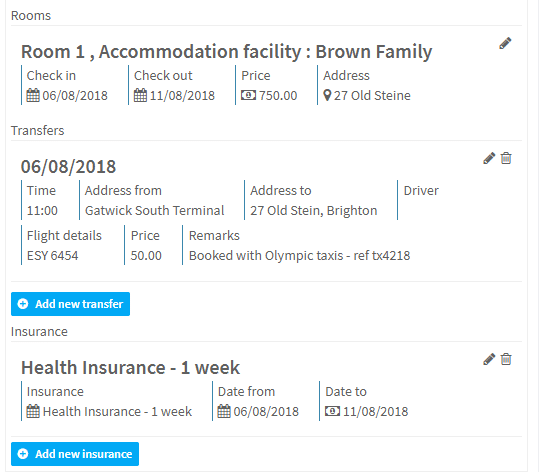
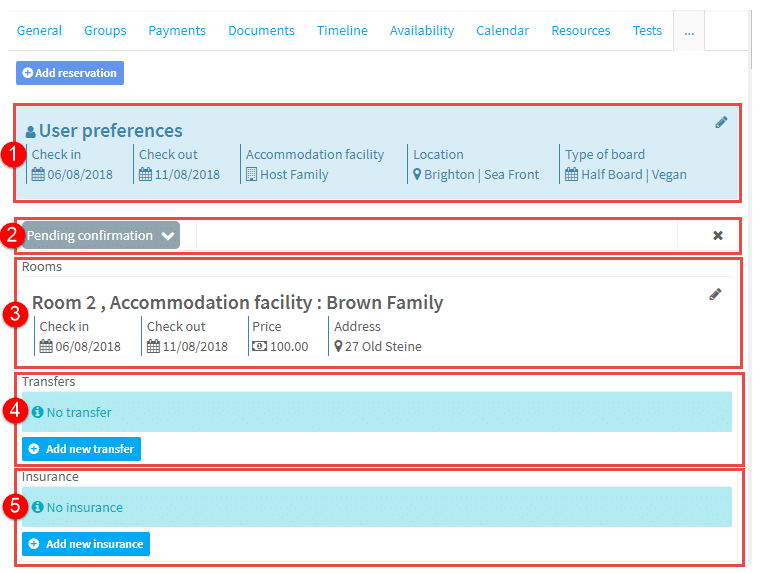
The room will be booked in the system and then other items that can be added to the reservation will appear:
- This is the original reservation
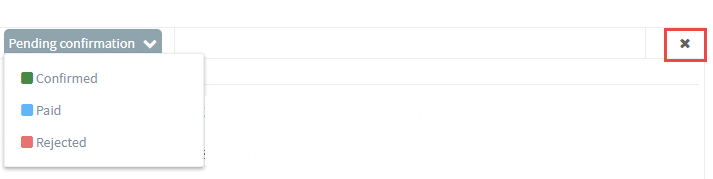
- Booking Status – This accommodation facility is in the system as requiring confirmation before the booking is definite – they may be renting rooms to other schools – to avoid double booking. The drop-downs allow you to change the status of the booking. If it is rejected, click the X on the right hand side to remove and start again.
- Details of the booking.
- Transfers can now be added if required (see below).
- Insurance can now be added if required (see below).
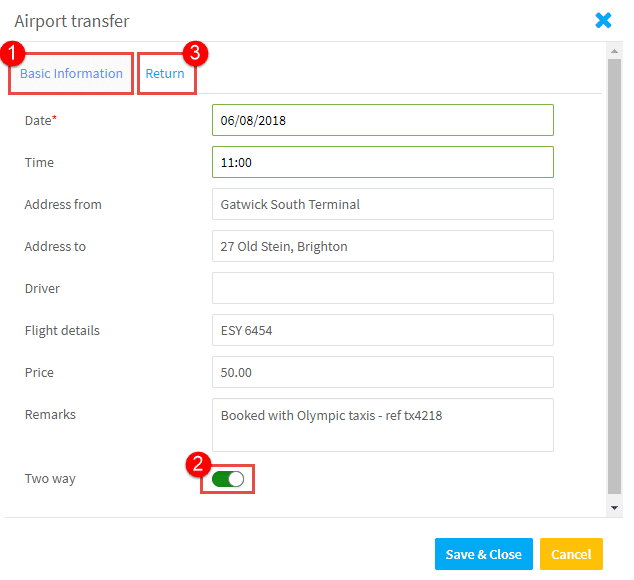
Adding Transfers
- Fill in the basic information.
- If you check the two way button,
- a Return box appears.
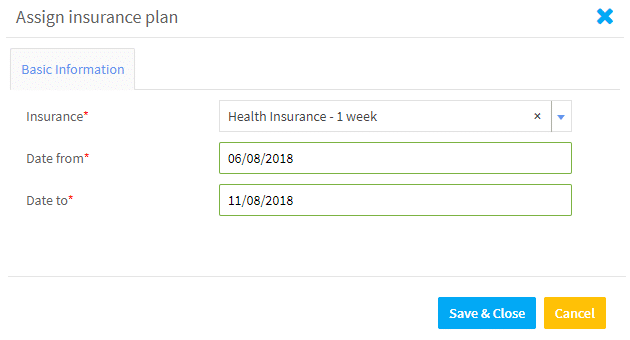
Adding Insurance
You will need to have insurance plans added – see here.
This is what the card will look like after adding the transfer and insurance: