
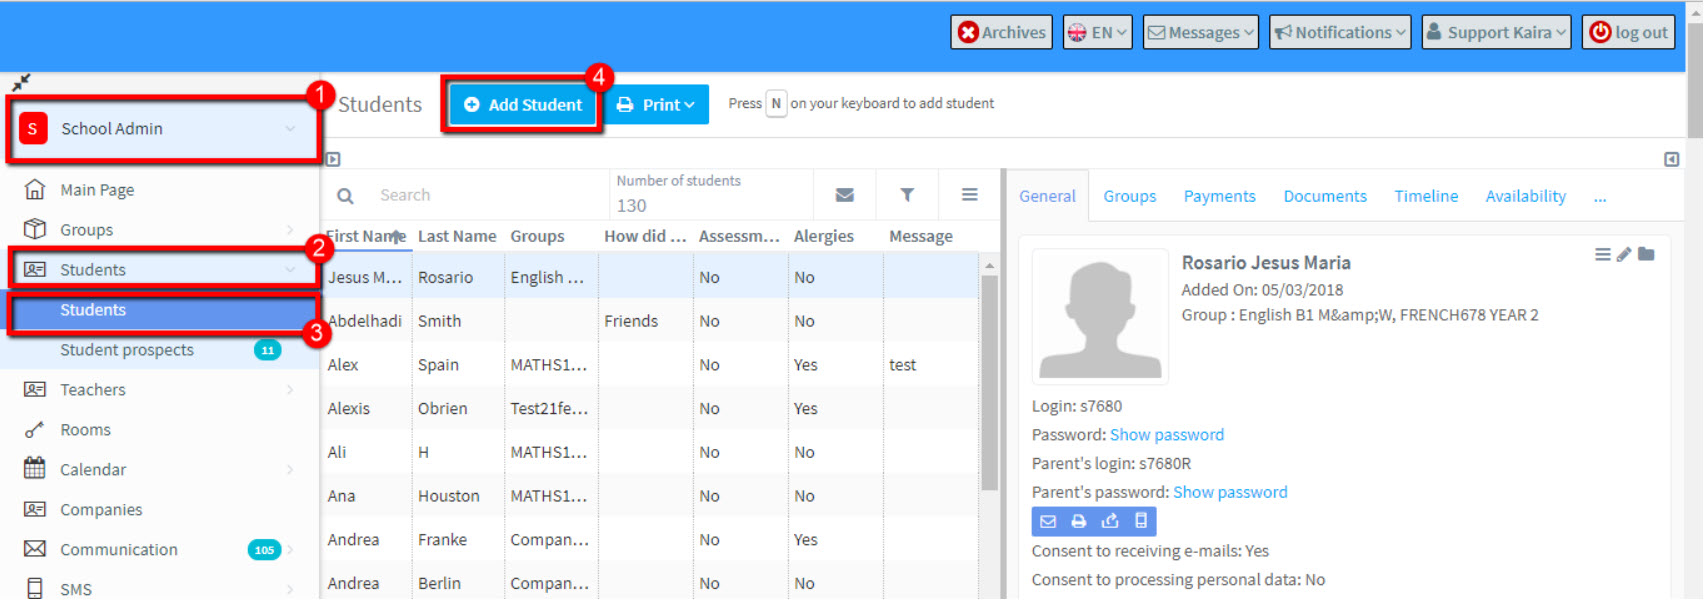
To create a student go to: School Admin – Students – Students – Add Student:
You will then see a student card to fill in:
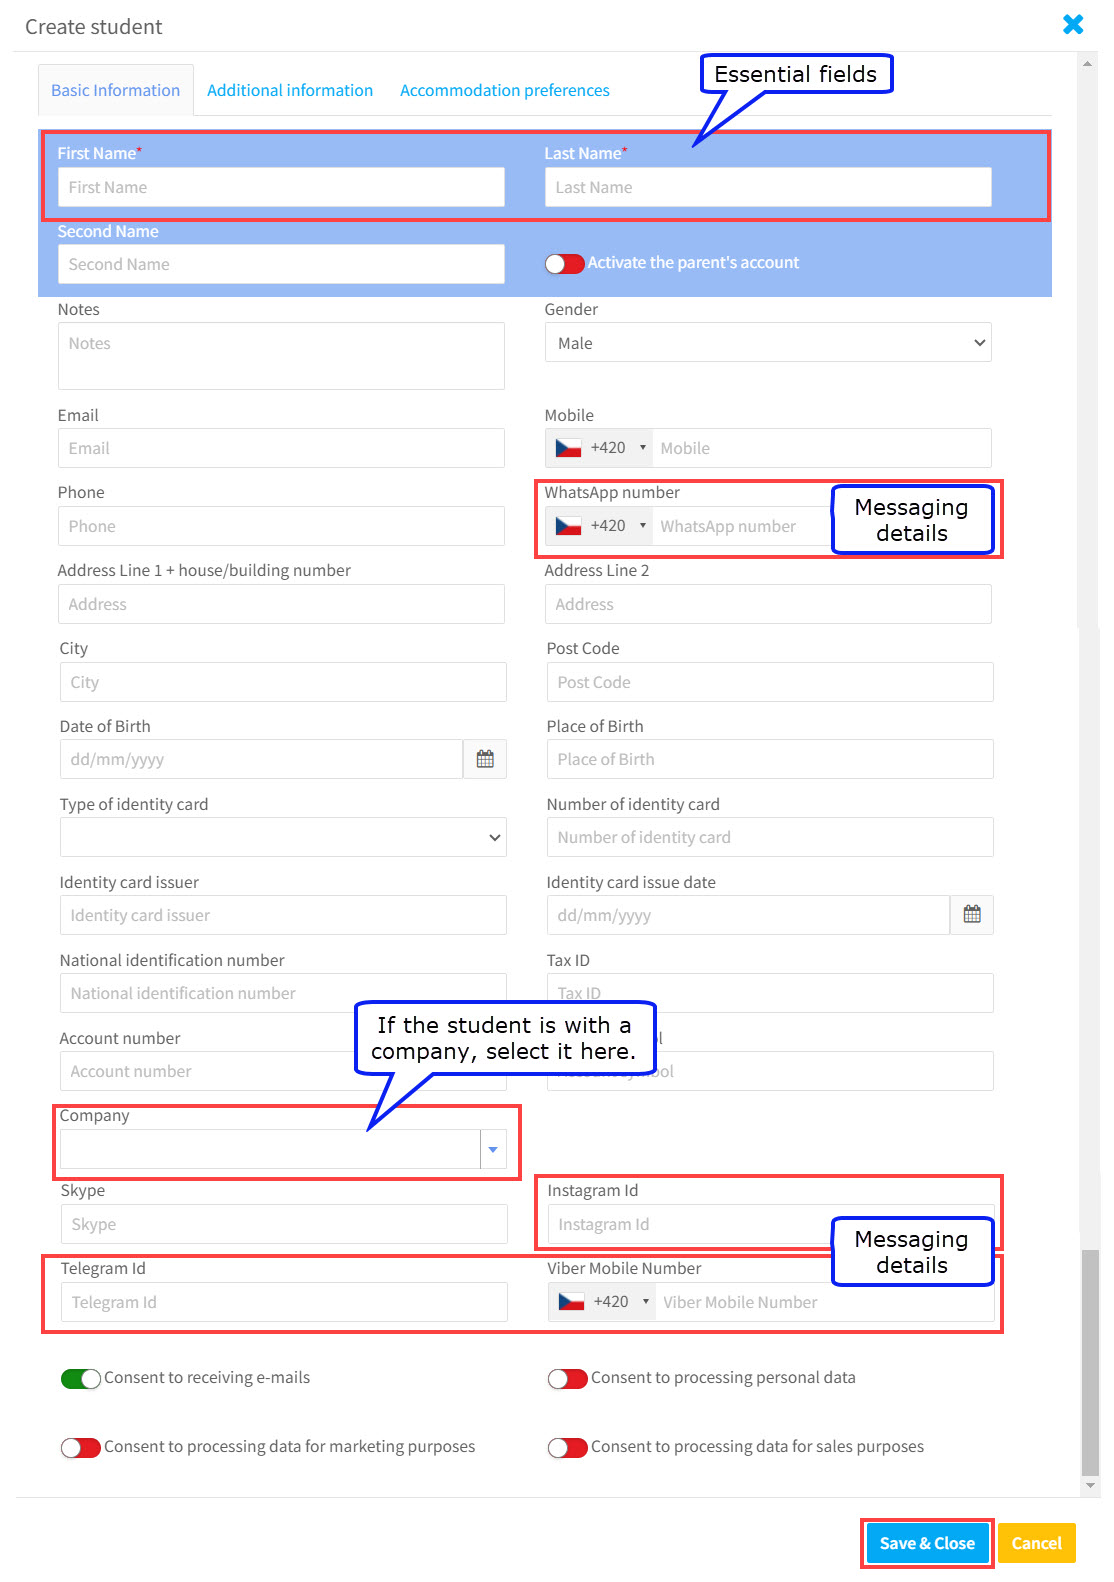
Additional Information:
If there is any other information that you would like to store on your student, it can be placed here. The design for the card is controlled in School Admin – Settings – Forms. Students can actually enter data onto this card when they log in if you want them to enter information for you.
Activate Parent’s Account:
For this feature to work you must activate parents accounts in Basic Settings – Students.
If you click this, an extra card will appear: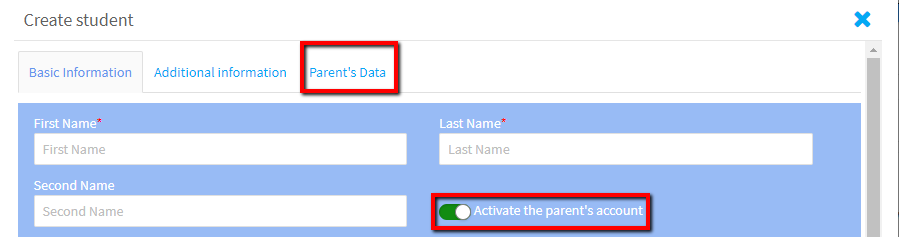
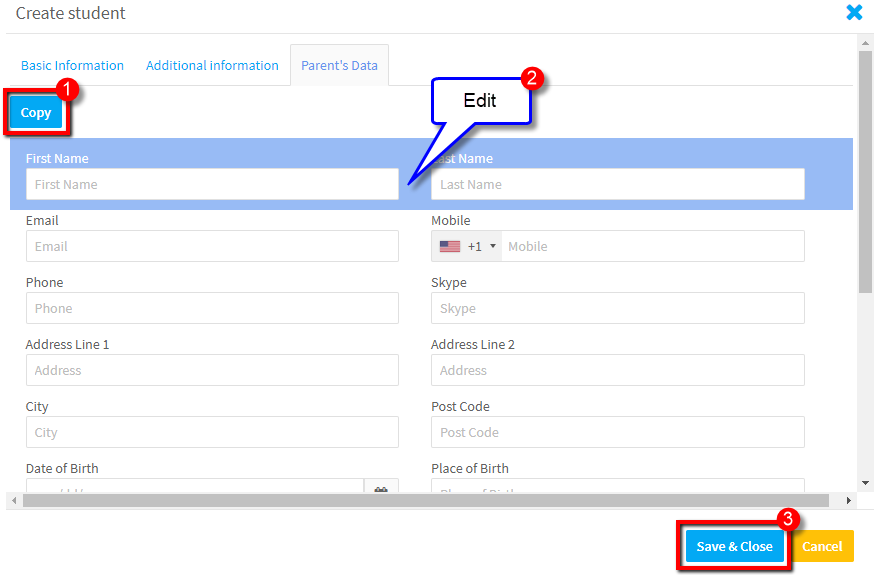
As most of the contact information will be very similar between the student and parent, all you need to do is click the “copy” button. Information from the student’s card will be transferred to the parent’s card and you can make any changes before saving.
Consents:
As there are now strict regulations on schools holding student and parent data and what they can do with it, we have a consent section. The default when creating a user is as follows:

You may want to change these settings when they give permission – possibly via their contract with the school. If a consent is not marked as approved, it will not allow certain email types to be sent. Students and parents can log in and change their permissions anytime they want.
Student Card
After you have clicked “Save & Close” a student card will be created and many more tabs will appear that will hold information on the student’s groups, calendar, documents etc., There are detailed tutorials on each tab, but you can start with the main student card here.