Assigning Students – Basic Version:
Now that a group has been created, we can add students to it. To place students in a group click “Assign Students”:
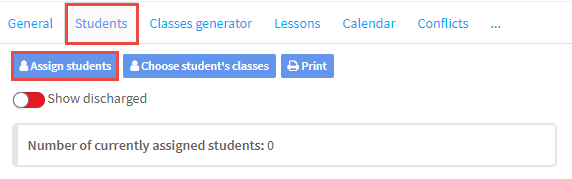
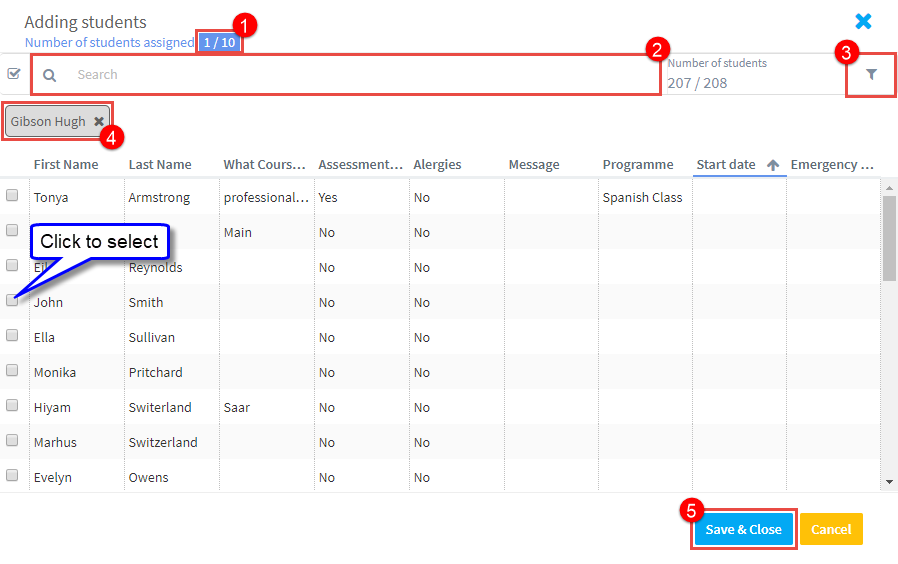
And a list of all your students will appear:
- This shows the number in the group and the maximum allowed, as a maximum number was inserted on the create group card.
- Search bar to look for students by name.
- Filter to help find students.
- A selected student.
- Save & Close.
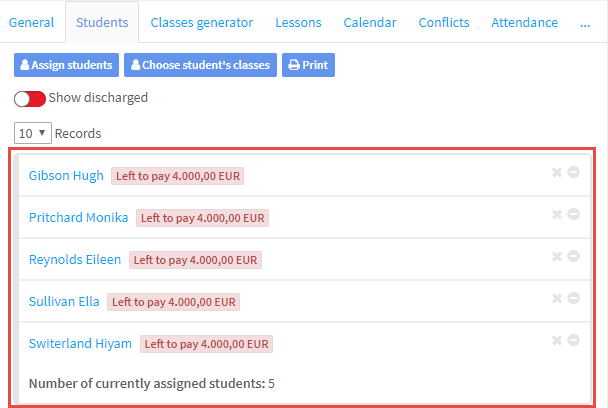
When you have finished, your students will appear on the student card:
Assigning Students – Advanced Version:
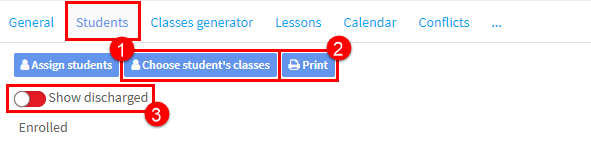
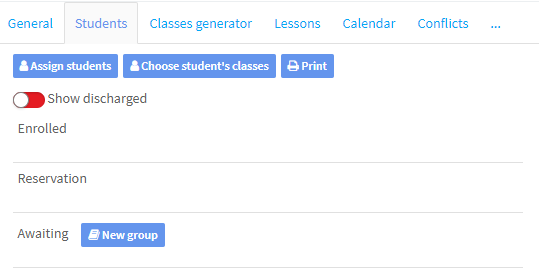
Some schools like to reserve a place in a group until the student has paid a deposit. If you have “Spots reserved and awaiting in the group” activated in Basic Settings, you can do this. Then the student card will look like this:
- Enrolled – If the student is placed here, they are in the lessons.
- Reserved – Students who are assigned to the group are automatically placed here.
- Awaiting – If the group has more students than it can take, you can place extra students here. If you have sufficient numbers to form an extra group, click the “New group” button and a duplicate group will be created with the same settings as the original and the Awaiting students will be placed into it.
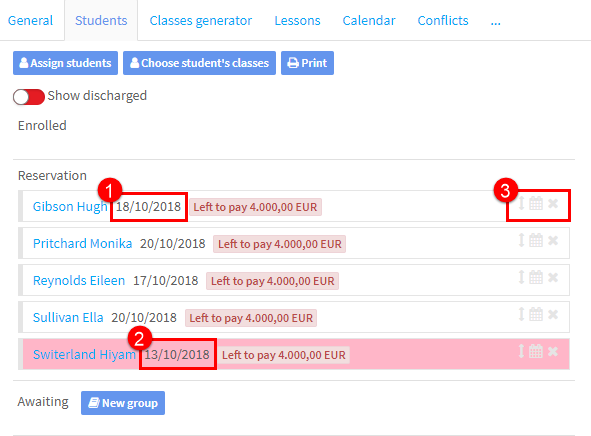
The student card we placed above in “Assigning Students – Basic Version” (above) with this feature switched on would look like this:
- This is the date that the student has a reservation until. The reservation date is a set number of days after the student is assigned to the group. That number of days is controlled in Group Settings.
- This student’s reservation date is past.
- These three icons allow you:
- Drag and drop students to another section.
- Change the date of the reservation.
- Remove the student from the group.
Other Items on the Student Card:
- If the group has, for example, lessons twice per week and a student is only attending one day per week, then if you click on this button you can deselect the day that the student does not attend. They will not appear in Attendance for those days. For this feature to work it must be activated in Basic Settings.
- This will print out the status: enrolled, reservation, awaiting of all the students in the group.
- Some students may have attended lessons but left before the group finished. Activating this button will show all students: current and past connected to the group.