
Once a student is placed in a group details are stored on this card.
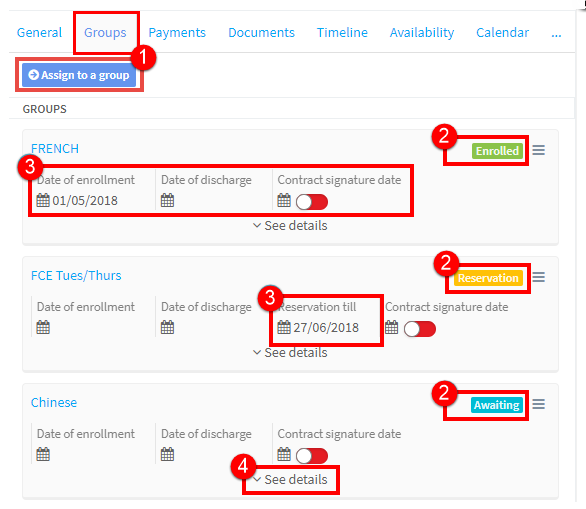
- You can place a student directly into a group from here. Click on the button, tick the group and the student is added.
- The card shows the students status in the group. There are three statuses possible depending on your settings:
- Enrolled – the student is a member of the group and appears on registers etc.,
- Reservation – the student has reserved a place in the group.
- Awaiting – there is a waiting list for a free space or possibly the school will create another group.
You can learn how to activate these statuses when you place a student in a group here.
. 3. The student’s dates in relation to the group:
- Date of enrollment – this is the date the student started in the group. They will not appear in registers before this date.
- Date of discharge – this is the date the student finished in the group. They will not appear in registers after this date.
- Contract signature date – if you tick this, the contract will be marked as signed with that day’s date. In the Reports Module there is a report named “Students – enrollments” which allows you to see which students have and have not signed their contracts. For this feature to work it must be activated in Basic Settings.
- Reservation till – if the student has a reservation for a place, this is the date that it is kept open to.
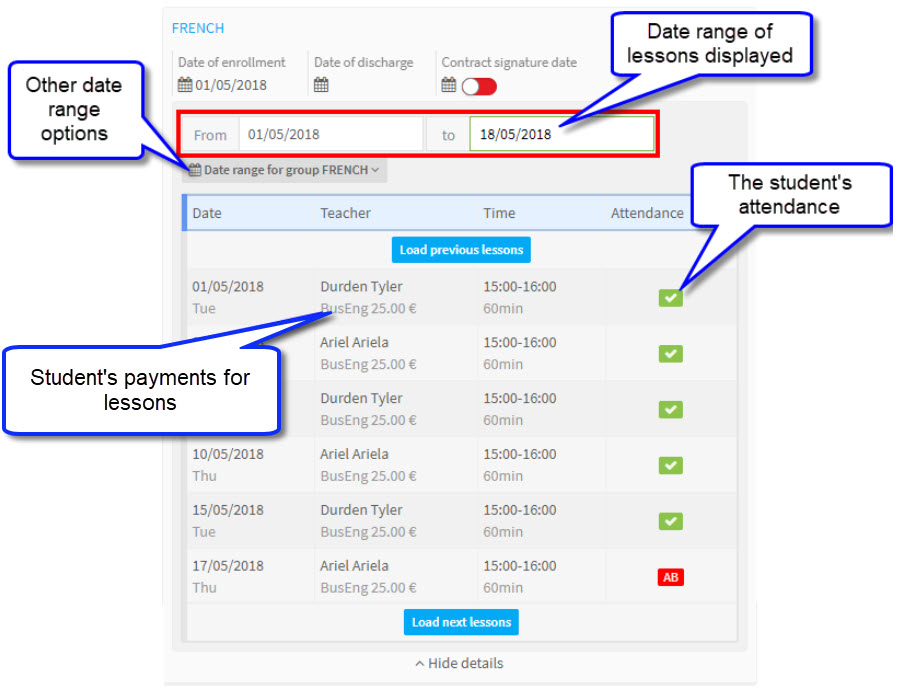
. 4. See Details – this tells us about the student’s attendance and other information about the lessons as follows:
Editing Student’s Data in the Group:
If you click on the 3 lines, you can then alter the student’s data in the group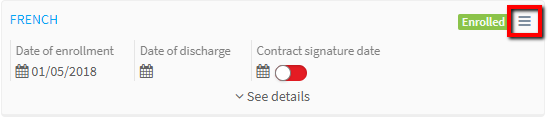
It gives you these options: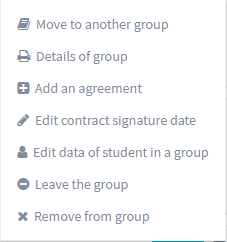
- Move to another group – you can select a group and move the student into it.
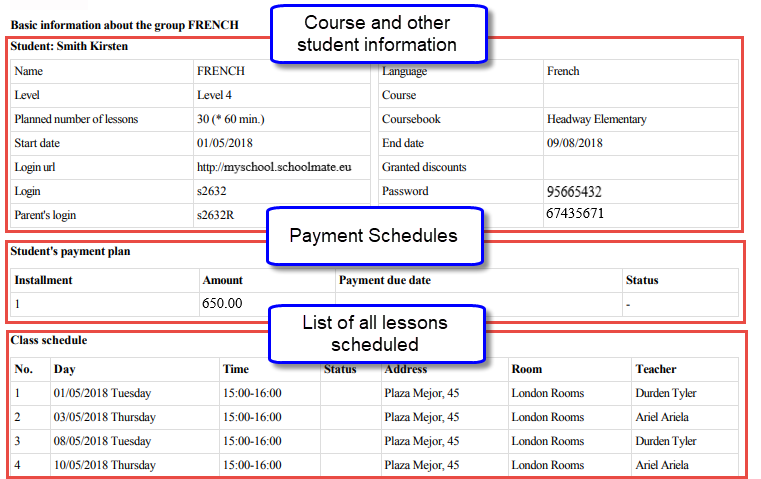
- Details of the group – you can print out all the information about the student’s course, payments and lessons:
- Add an agreement – if you want to create a contract for the student to sign, you can do it from here – just enter the basic details:
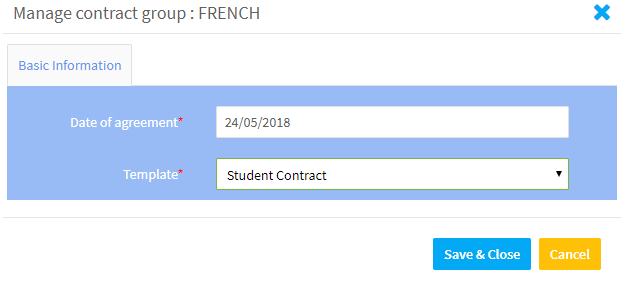 The agreement will then appear under the Documents card for printing, signing, emailing. You can find out more about creating documents here. If an agreement has already been created, this will say “Edit Agreement“
 - Edit contract signature date – changes the contract signature date.
- Edit data of student in a group – here you can change the student’s method of payment, their dates in the course and the price they pay:
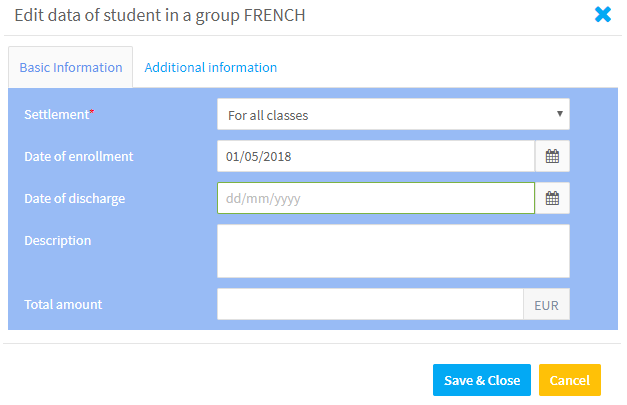 The Additional information card holds information on their starting, finishing and required language level. For this feature to appear it must be activated in Basic Settings.
- Leave the group – enter the date that the student left the group from. All records, attendance etc., will be kept but they will not appear in registers after the discharge date.
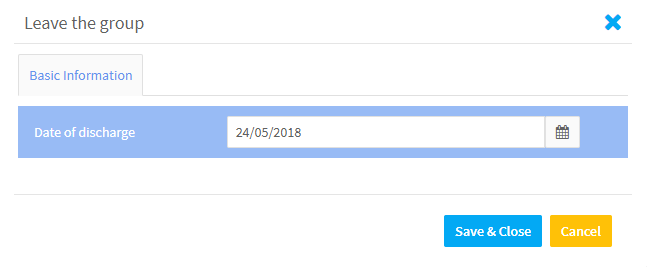 That will then fill in the discharge date in the group information:
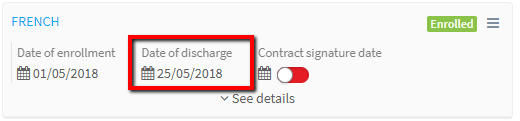
- Remove from group – If you remove the student, you will not have access to history and payments, there will be no record of any connection of the student to the group. This should be used if you placed the student in the group by mistake and they attended no lessons etc.,